 ownloads Documentation Centre!
Using the jDownloads Community Builder plugin -Jun 2023
Introduction
jDownloads has a Plugin designed specifically to work with the Community Builder component. This article shows how to use the jDownloads CB plugin to integrate the ability to access Downloads from within Community Builder. Because Community Builder is, as is obvious from its name, aimed at forming communities then the jDownloads plugin will show Downloads based upon who created the Download.
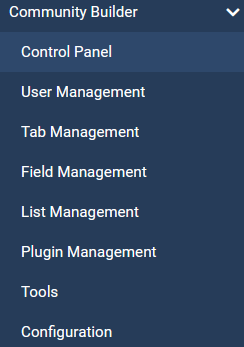
Access to the various parts of Community Builder is by clicking on the
Brief notes on installing and configuring Community Builder sufficient to use the jD plugin are given below. Further advice on Community Builder is available from the JOOMLAPOLIS at community builder (opens in a new tab/window)
Installation of CB Component
Download the appropriate Community Builder package from Joomlapolis (opens in a new window/tab) and save somewhere convenient on your device. Then using Joomla! Extensions - Manage - Install search for the component and drag onto the install panel.
After install completes, Community Builder will show a button or similar so click on the button. Alternatively use the CB panel of links.
After install completes, Community Builder will show a
Configuration
First select the Control Panel then click on the  button which will open a page with multiple tabs.
For this basic setup to checkout the jDplugin there are a few items that are useful to adjust.
Under the tab it is suggested that the Name Style is set to 'First and Last Name Fields' and that the Name Format is set to 'Username Only'.
It might also be useful to set the Date format appropriately (I generally use the yyyy/mm/dd as it is the international form).
At the bottom of the form it is suggested that the Login Method is set to 'Username'.
For the tab it is recommended that Allow User Registration is set to 'Yes, Independent of CMS "allow registration" ', so that it is independent of Joomla! settings.
Under the set the Profile View Access Level to 'Registered' or as appropriate for your your site.
The other tabs are useful in practice but are beyond the scope of this document. Basically the default settings diccussed here are sufficient for initial use.
When done use the button and then the
  button (presently there is no Save & Close button on that page) which will take you back to the main Control Panel.
button which will open a page with multiple tabs. For this basic setup to checkout the jDplugin there are a few items that are useful to adjust.
Under the
It might also be useful to set the Date format appropriately (I generally use the yyyy/mm/dd as it is the international form).
At the bottom of the form it is suggested that the Login Method is set to 'Username'.
For the
Under the
The other tabs are useful in practice but are beyond the scope of this document. Basically the default settings diccussed here are sufficient for initial use.
When done use the
button and then the User Management
Select the  again and Click on the
 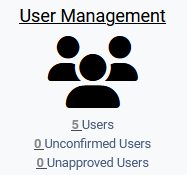 panel which shows all the users that are already 'registered' with Joomla. Check and modify as appropriate so that the users are 'Enabled', 'Confirmed' and 'Approved'.
panel which shows all the users that are already 'registered' with Joomla. Check and modify as appropriate so that the users are 'Enabled', 'Confirmed' and 'Approved'.Menu Item
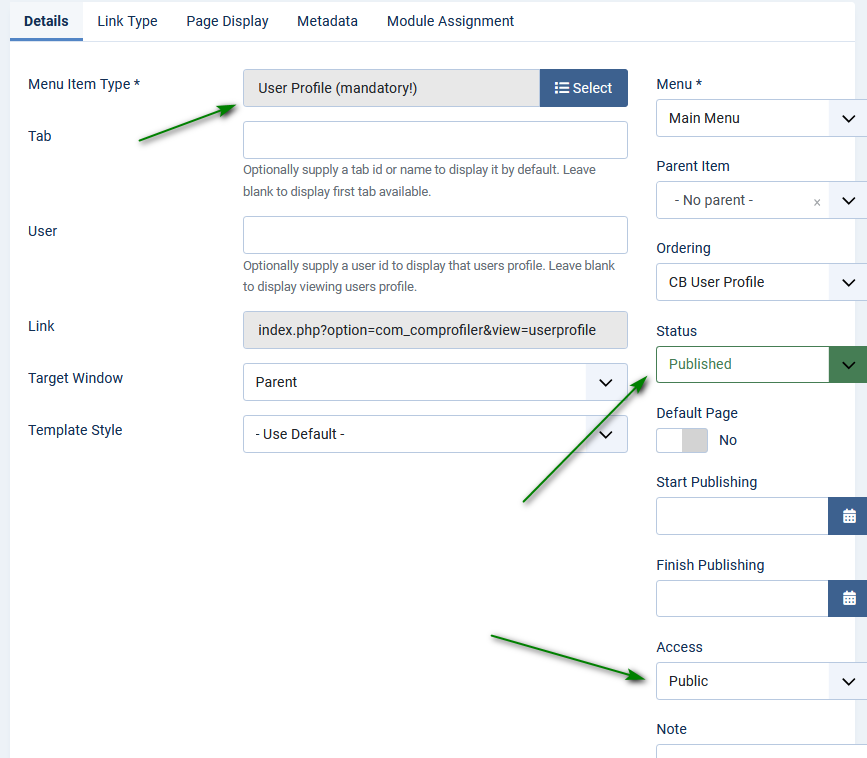
The last step is to create a CB menu item, specifically a 'CB User Profile' menu item. This is a mandatory requirement.
Follow the usual procedure for creating a menu item in your Main menu - use the not the Community Builder one!
Next Click on the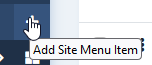
Enter a suitable title Fill in the details as indicated opposite. Select 'User Profile (mandatory!) from the Menu Item Type List. Ensure that the menu item is set with Public access and is Published. Then Save & Close as usual.and then as use the button.
Follow the usual procedure for creating a menu item in your Main menu - use the
Next Click on the
Enter a suitable title Fill in the details as indicated opposite. Select 'User Profile (mandatory!) from the Menu Item Type List. Ensure that the menu item is set with Public access and is Published. Then Save & Close as usual.and then as use the
Installing jD Plugin
If you are updating your Community Builder from any earlier release you will need to remove the existing jD plugin.
This is described in the section Upgrading to newer version below.
This is described in the section Upgrading to newer version below.
Obviously the first step is to get the jDownloads CB plugin.
Joomla 4
This is in the Special Extensions for jD4 (opens in a new window/tab) category of the jDownloads site, under Downloads.
The plugin name is 'ext_jdownloads_cb_plugin_v4_for_Joomla4.zip'.
Download the relevant version of the jD plugin and save in a suitable location on your PC.

Joomla 4
This is in the Special Extensions for jD4 (opens in a new window/tab) category of the jDownloads site, under Downloads.
The plugin name is 'ext_jdownloads_cb_plugin_v4_for_Joomla4.zip'.
Download the relevant version of the jD plugin and save in a suitable location on your PC.
Note that the CB Plugin is specific to Community Builder - it must to be installed using the Community Builder Plugin manager as described below.
IMPORTANT Do not use the Joomla Plugin Install - it will not work!
IMPORTANT Do not use the Joomla Plugin Install - it will not work!
For reference the Joomla 3 versions are:
For CB 2.6.4 and above in the CB 2.6 series use ext_jdownloads_cb_plugin_ v2.0.11 This at JComents Plugin for jD3.9 (opens in a new window/tab)
For CB 2.6.3 and lower use ext_jdownloads_cb_plugin_ v2.0.10A. This may be found at Get CB 2.6.3 plugin. (opens in a new window/tab)
For CB 2.6.4 and above in the CB 2.6 series use ext_jdownloads_cb_plugin_ v2.0.11 This at JComents Plugin for jD3.9 (opens in a new window/tab)
For CB 2.6.3 and lower use ext_jdownloads_cb_plugin_ v2.0.10A. This may be found at Get CB 2.6.3 plugin. (opens in a new window/tab)
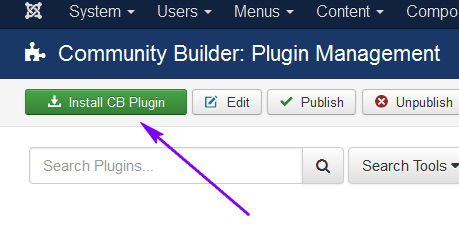
So in the backend goto Components -
This brings up the relevant page.
Click on the
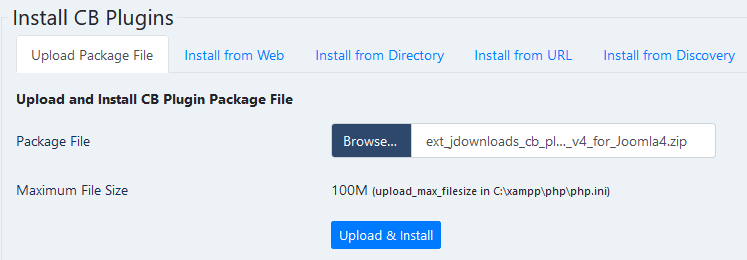
Step 1: Go to the
Step 2: Browse for the jDownloads CB plugin on your PC
Step 3: Click on the Upload & install button.
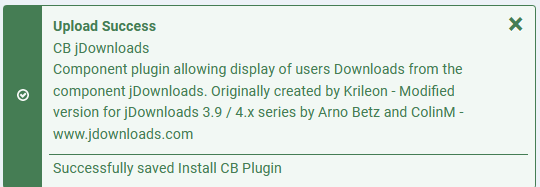
This will bring up the Success message such as shown opposite.
Click on the button at the top left which will return you to the main CB Plugin Management page.
Click on the
Now scroll down and you should find the CB jDownloads plugin. Note that it is NOT published!
So Publish by clicking on the red cross  which will then turn to a green tick
  .
.
Illustration of jD Plugin within Community Builder
First we will illustrate using Community Builder with jDownloads.
Please note that you should address any operational aspect of Community Builder to its authors
as we have limited experience of actually using Community Builder in practice!
as we have limited experience of actually using Community Builder in practice!
After installing Community Builder on a standard Joomla! release, you will see module CB Login in the 'sidebar-right' position.
The next step is to create the mandatory CB Profile Menu item. Communinty Builder has its own Community Builder Main Menu.
Or you can choose to add the relevant Menu item to the regular main menu. For this demonstration the regular main menu was used.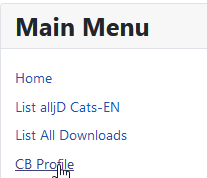
The next step is to create the mandatory CB Profile Menu item. Communinty Builder has its own Community Builder Main Menu.
Or you can choose to add the relevant Menu item to the regular main menu. For this demonstration the regular main menu was used.
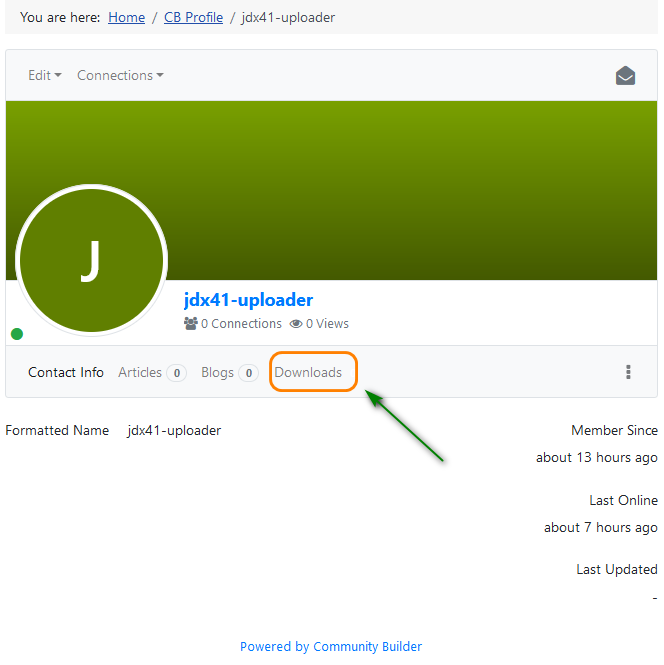
After installing the jDownloads Community Builder plugin as described above then the view shows a Downloads link.
It should have an integer value following Downloads indicating how many Downloads are available to you. But presently that is not shown.
If you click on the
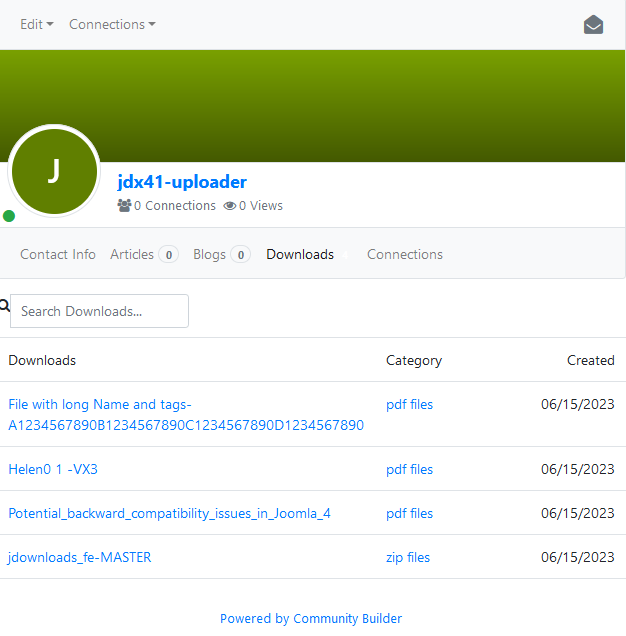
The list of available Downloads are shown opposite
Clicking on the Download title will take you to the Download Details view for that Download.
Similarly if you click on a link in the Category column it will take you to the Category view.
This lists all of the Sub Categories and Downloads that you are able to view, not just those created by the logged on user.
 '
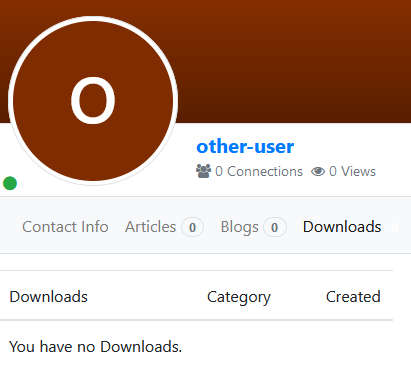
'But suppose you have created no Downloads and click on the Downloads tab,
then you would get the 'You have no Downloads' message as shown opposite.
Upgrading from earlier CB jDownloads
Version Information
NOTE: With Comunity Builder there are different versions of the plugin for JD4 and jD 3.9.
Joomla 4
For CB 2.8.0 and above use 'ext_jdownloads_cb_plugin_v4_for_Joomla4'.
Joomla 3
For CB 2.6.4 and higher 2.6.4 series use ext_jdownloads_cb_plugin_ v2.0.11
For CB 2.6.1 and lower use ext_jdownloads_cb_plugin_ v2.0.10A image
For CB 2.8.0 and above use 'ext_jdownloads_cb_plugin_v4_for_Joomla4'.
Joomla 3
For CB 2.6.4 and higher 2.6.4 series use ext_jdownloads_cb_plugin_ v2.0.11
For CB 2.6.1 and lower use ext_jdownloads_cb_plugin_ v2.0.10A image
Updating from jD3.9 to 4.0
This basically requires deleting the existing CB Plugin and then installing the required version. So go to the and scroll down to find
CB jDownloads.
Step 1: Click on the button in the tool bar;
Step2: Click on the button in the tool bar.
CB jDownloads.
Step 1: Click on the
button in the tool bar; Step2: Click on the

Now return to the installing jD Plugin section to add the relevant jDownloads version of the plugin.
ColinM September, 2019 Modified January 2021, April 2022, January 2023, June 2023