 ownloads Documentation Centre!
Introduction
In a membership organisation or similar each member may require to keep details of some Downloads confidential. That is in some situations it required to limit access of some Downloads as private to individual members. Also there may be a requirement where a 'supervisor' needs to also add some downloads for a group of members and also to be able to access the downloads of the 'members'.
This achievable with a combination of Permissions and View Access Levels.
In this example we have used 3 members called MemberA, MemberB and MemberC with a 'supervisor' called MonitorABC. That is A, B and C denote which member. Maybe Supervisor might be a better name.
Once the basic structures are set up then it is straightforward to add additional members.
See also Controlled Access to Categories and Downloads (opens in a new tab) for other examples.
Basic Setup
There are five parts which need to be setup:
1. User Groups
2. View Access Levels
3. Users
4. Categories
5. Menu Items
1. User Groups
2. View Access Levels
3. Users
4. Categories
5. Menu Items
User Groups
Personally I find it helpfull to add the trailing '-UG' to each User Group.
In this example they are called ,memberA-UG', 'memberB-UG' and 'memberC-UG'. Also create a User Group for the Supervisor which is called here as 'monitorABC-UG'. The first step is to create a User Group for each member, even if we have not yet added the member as a user of the site. This is done in the Joomla! Users section.
In this example they are called ,memberA-UG', 'memberB-UG' and 'memberC-UG'. Also create a User Group for the Supervisor which is called here as 'monitorABC-UG'. The first step is to create a User Group for each member, even if we have not yet added the member as a user of the site. This is done in the Joomla! Users section.
So in the backend go to the Joomla Control Panel and click on  , then cliclk on
  . This opens up the list of User Groups. Click on the
  which opens the User Group Details Form. Fill in the details
 And then use the
  .
.
In all cases the parent User Group is Registered.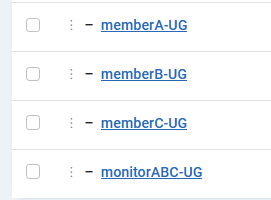
And then use the In all cases the parent User Group is Registered.
View Access Levels
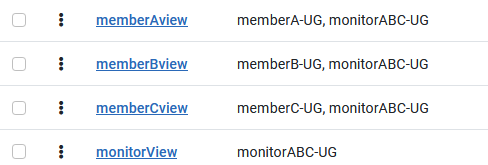
Create the access levels,which are called here memberAview, memberBview and memberCview. And assign the appropriate User Groups. Also create a view for the Monitor, which is called monitorView in this example.
To create te access level go to
Next select the
The Access levels each have their 'member UG' and also monitorView as illustrated opposite.
.
.

User Groups Settings
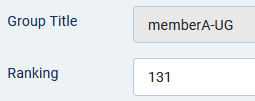
We also need to set the jDownloads UG's to have the appropriate settings - do not forget to set the ranking level to say 131, 132 and so on. See User Groups Overview for more information (opens in a separate tab).
On the Joomla control panel select  then click on
  then on
  . This opens up a view of all the User Groups. So click on one of the member groups such as 'memberA-UG' and set the Ranking to say 131 as indicated below.
 Next look at tabs
  ,
,  and
and  in turn and select the appropriate settings. Usually it is onlly the that needs modifying.
Note that the 'monitorABC-UG' has a higher Ranking. This is because the 'monitor' user will belong to all the user groups. The User Group settings for the Monitor are generaly more extensive.
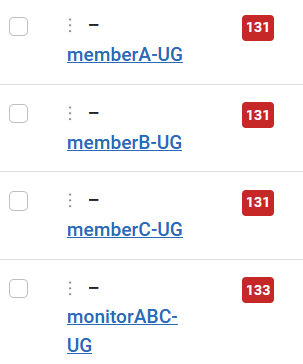
Next look at tabs Note that the 'monitorABC-UG' has a higher Ranking. This is because the 'monitor' user will belong to all the user groups. The User Group settings for the Monitor are generaly more extensive.
Users
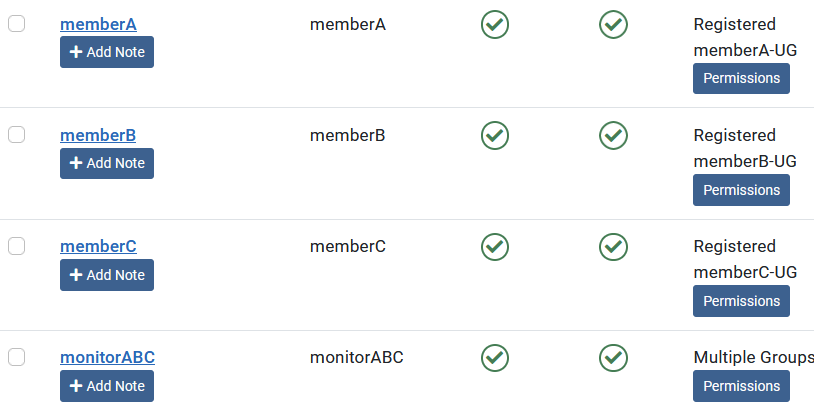
Having setup the User Groups and the Access Levels, it is convenient to now create the users.
It is simpler to do this at this juncture as we have already created the user group to which the user will be assigned and so avoids having to go back to the User Management.
In the main Joomla panel click onthen click on  . Then at top click on
The final setup for the Users is shown opposite.
It is simpler to do this at this juncture as we have already created the user group to which the user will be assigned and so avoids having to go back to the User Management.
In the main Joomla panel click on
. Then at top click on The final setup for the Users is shown opposite.
Categories
Each Member is given a top level Category, called in this example as 'memberAcat' and so on. Ensure you set Access to 'memberAview'.
As noted later it is these top level categories where we will setup the permissions.
Then create appropriate subcategories, which includes the members name or similar 'ID' for various 'topics' and 'reports'.
Note the setting of the view Access Levels.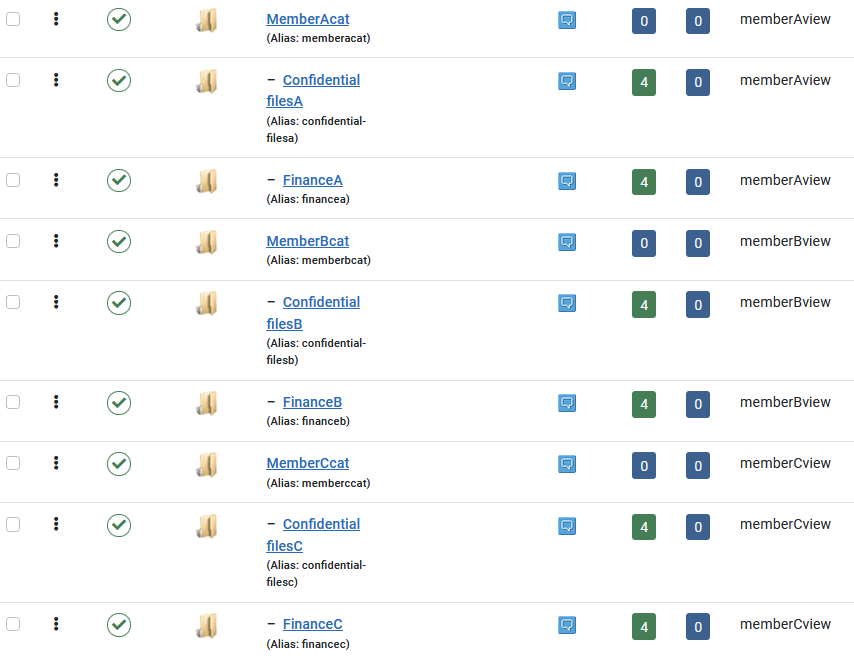
As noted later it is these top level categories where we will setup the permissions.
Then create appropriate subcategories, which includes the members name or similar 'ID' for various 'topics' and 'reports'.
Note the setting of the view Access Levels.
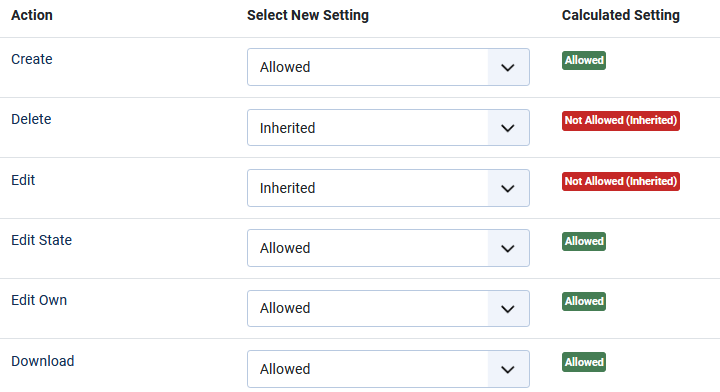
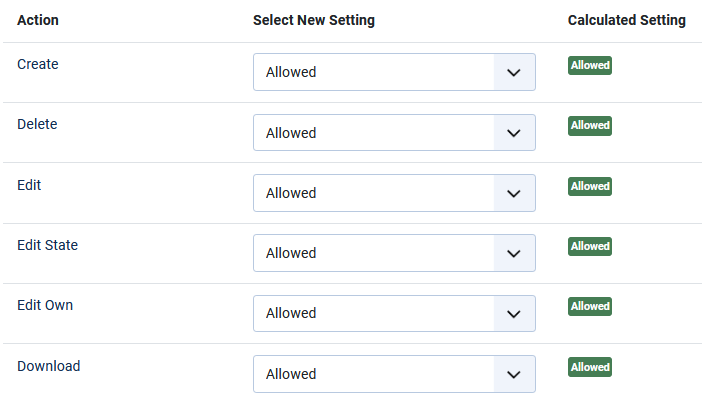
Permissions
At this stage we need to decide which permission to give each member and those for the 'monitor' user Group. So click on the name of say MemberAcat. This opens up the category . Click on the
We only need to set the permission in the Top level Categories as they will cascade down to the the sub categoies and then to the Downloads.
We also need to set the Permisions for the 'monitor' in each top level category.
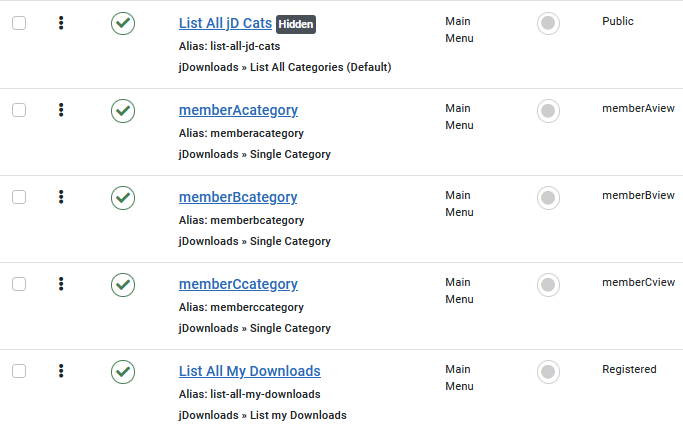
Menu Items
Each member should have a Single Category menu item that will list their top level category.
They must be set set with the relevant view access level.
Also there could be a List My Downloads menu item that has a Registered view access level.
For this menu item to work then every Download needs to have the 'creator' set as noted below.
They must be set set with the relevant view access level.
Also there could be a List My Downloads menu item that has a Registered view access level.
For this menu item to work then every Download needs to have the 'creator' set as noted below.
Download creator
When the 'monitor' is creating a Download for a member ensure that in the  tab that the 'Created by' pulldown is used to select the relevant member as the creator.
If it is the relevant member who is creating the Download then jDownloads automatically sets this option appropriately.
If it is the relevant member who is creating the Download then jDownloads automatically sets this option appropriately.
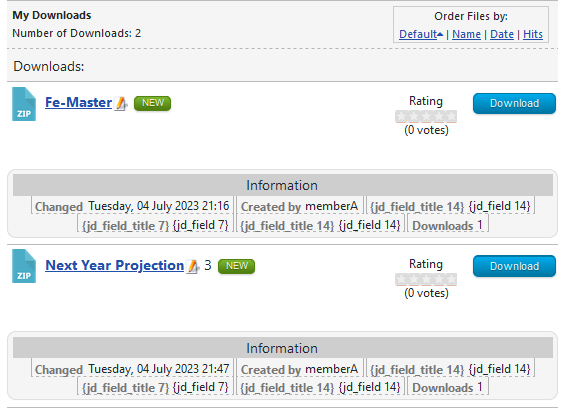
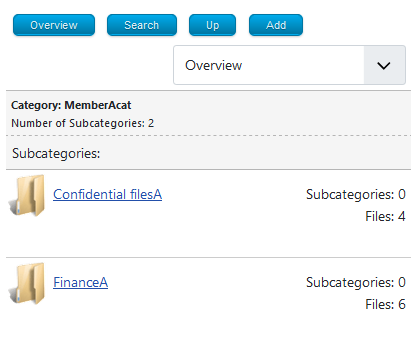
Examples
The List My Downloads view shown is dependant on who is logged in.
View shown opposite is when MemberA is logged in.
This is the view when using the menu item 'memberAcategory' is used.
ColinM April 2022 Modified July 2023, May 2025